Walk-through & scope
Square footage, drainage, cracks, and finish tier are documented — your quote matches the scope we verify on site.
Color approval
Flake blends are sampled on site so the installed floor matches what you signed off on.

Our process
The Reserve Process
A documented six-stage protocol — moisture-tested prep, polyurea build, polyaspartic cure — executed by in-house Reserve crews.
Installation protocol
Six documented stages. One accountable crew. Zero guesswork on install day.
Every Reserve floor follows the same protocol — from substrate diagnostics through polyaspartic cure. We publish it here so you know exactly what happens before we roll the first coat.
Get your estimate6
Prep & coating stages
1
Disciplined install day
24h
Light foot traffic
100%
In-house Reserve crews
Real crews. Real materials.
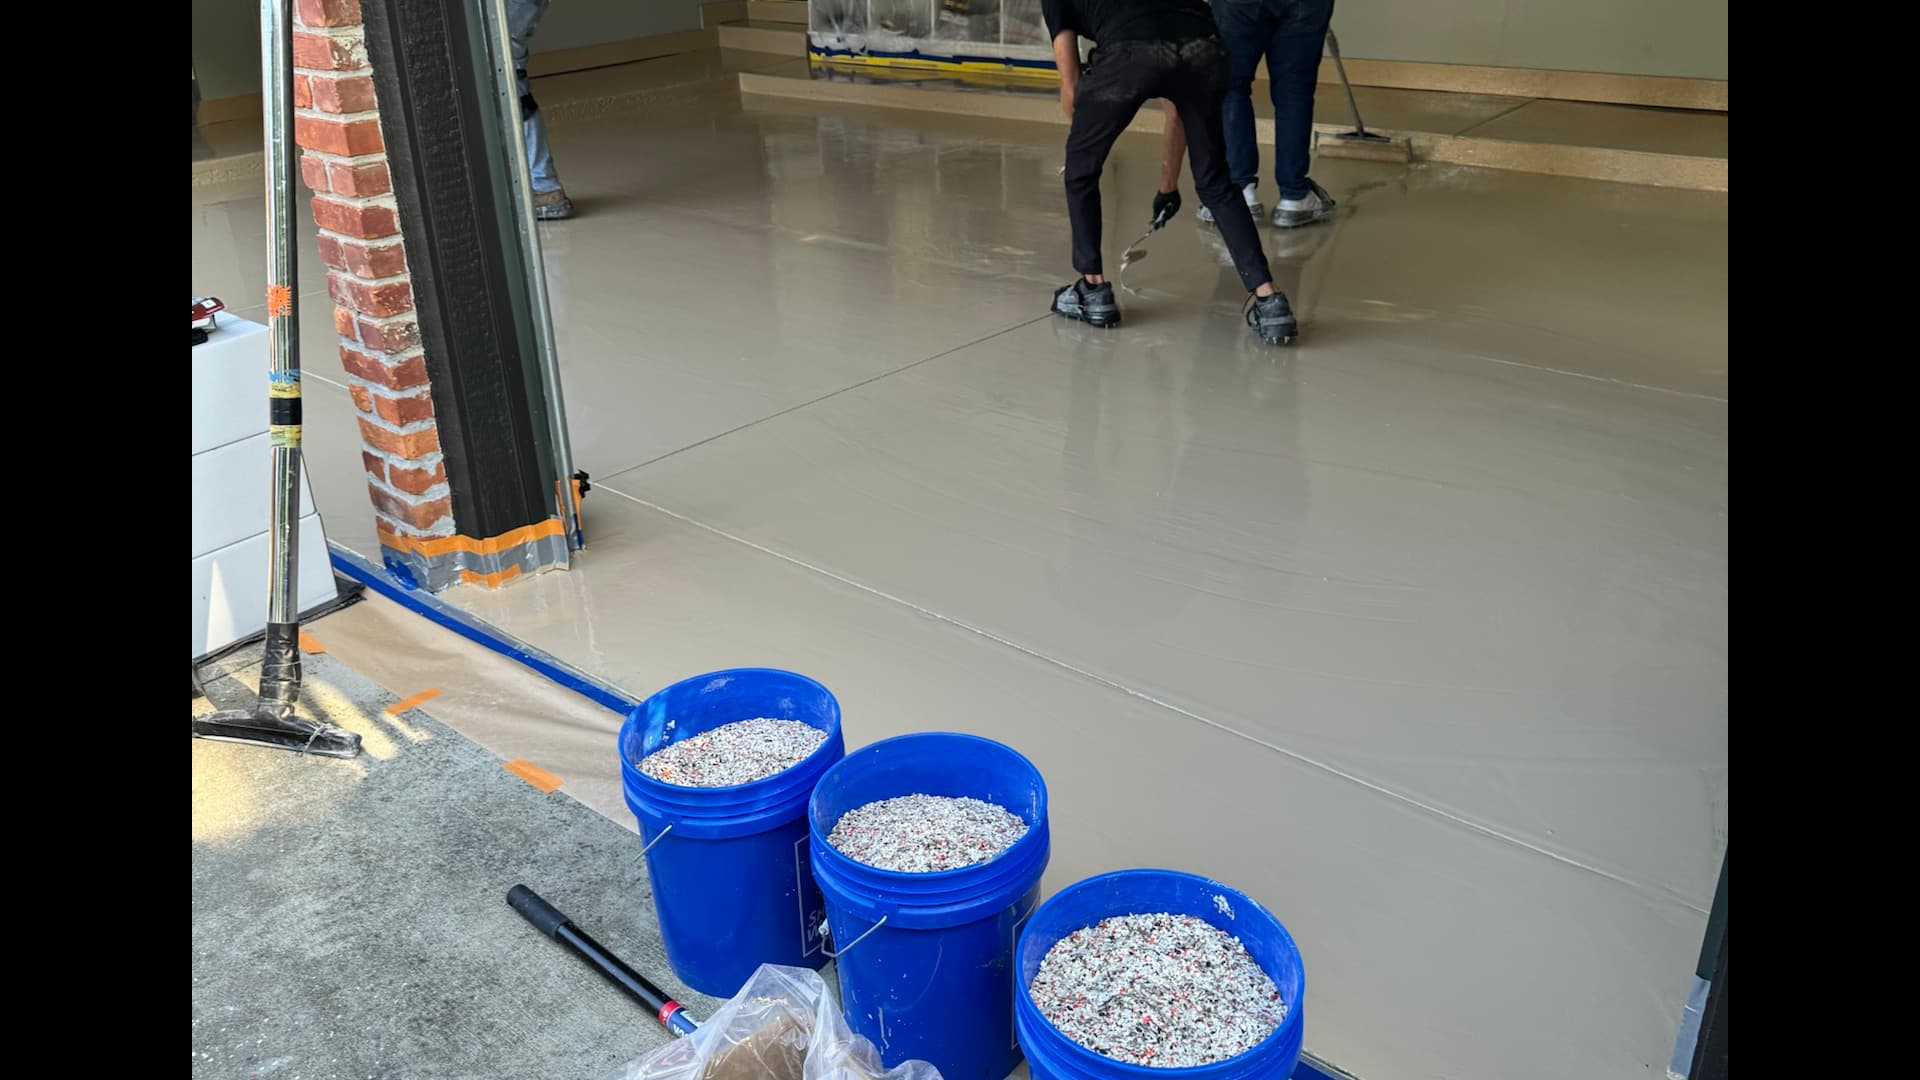
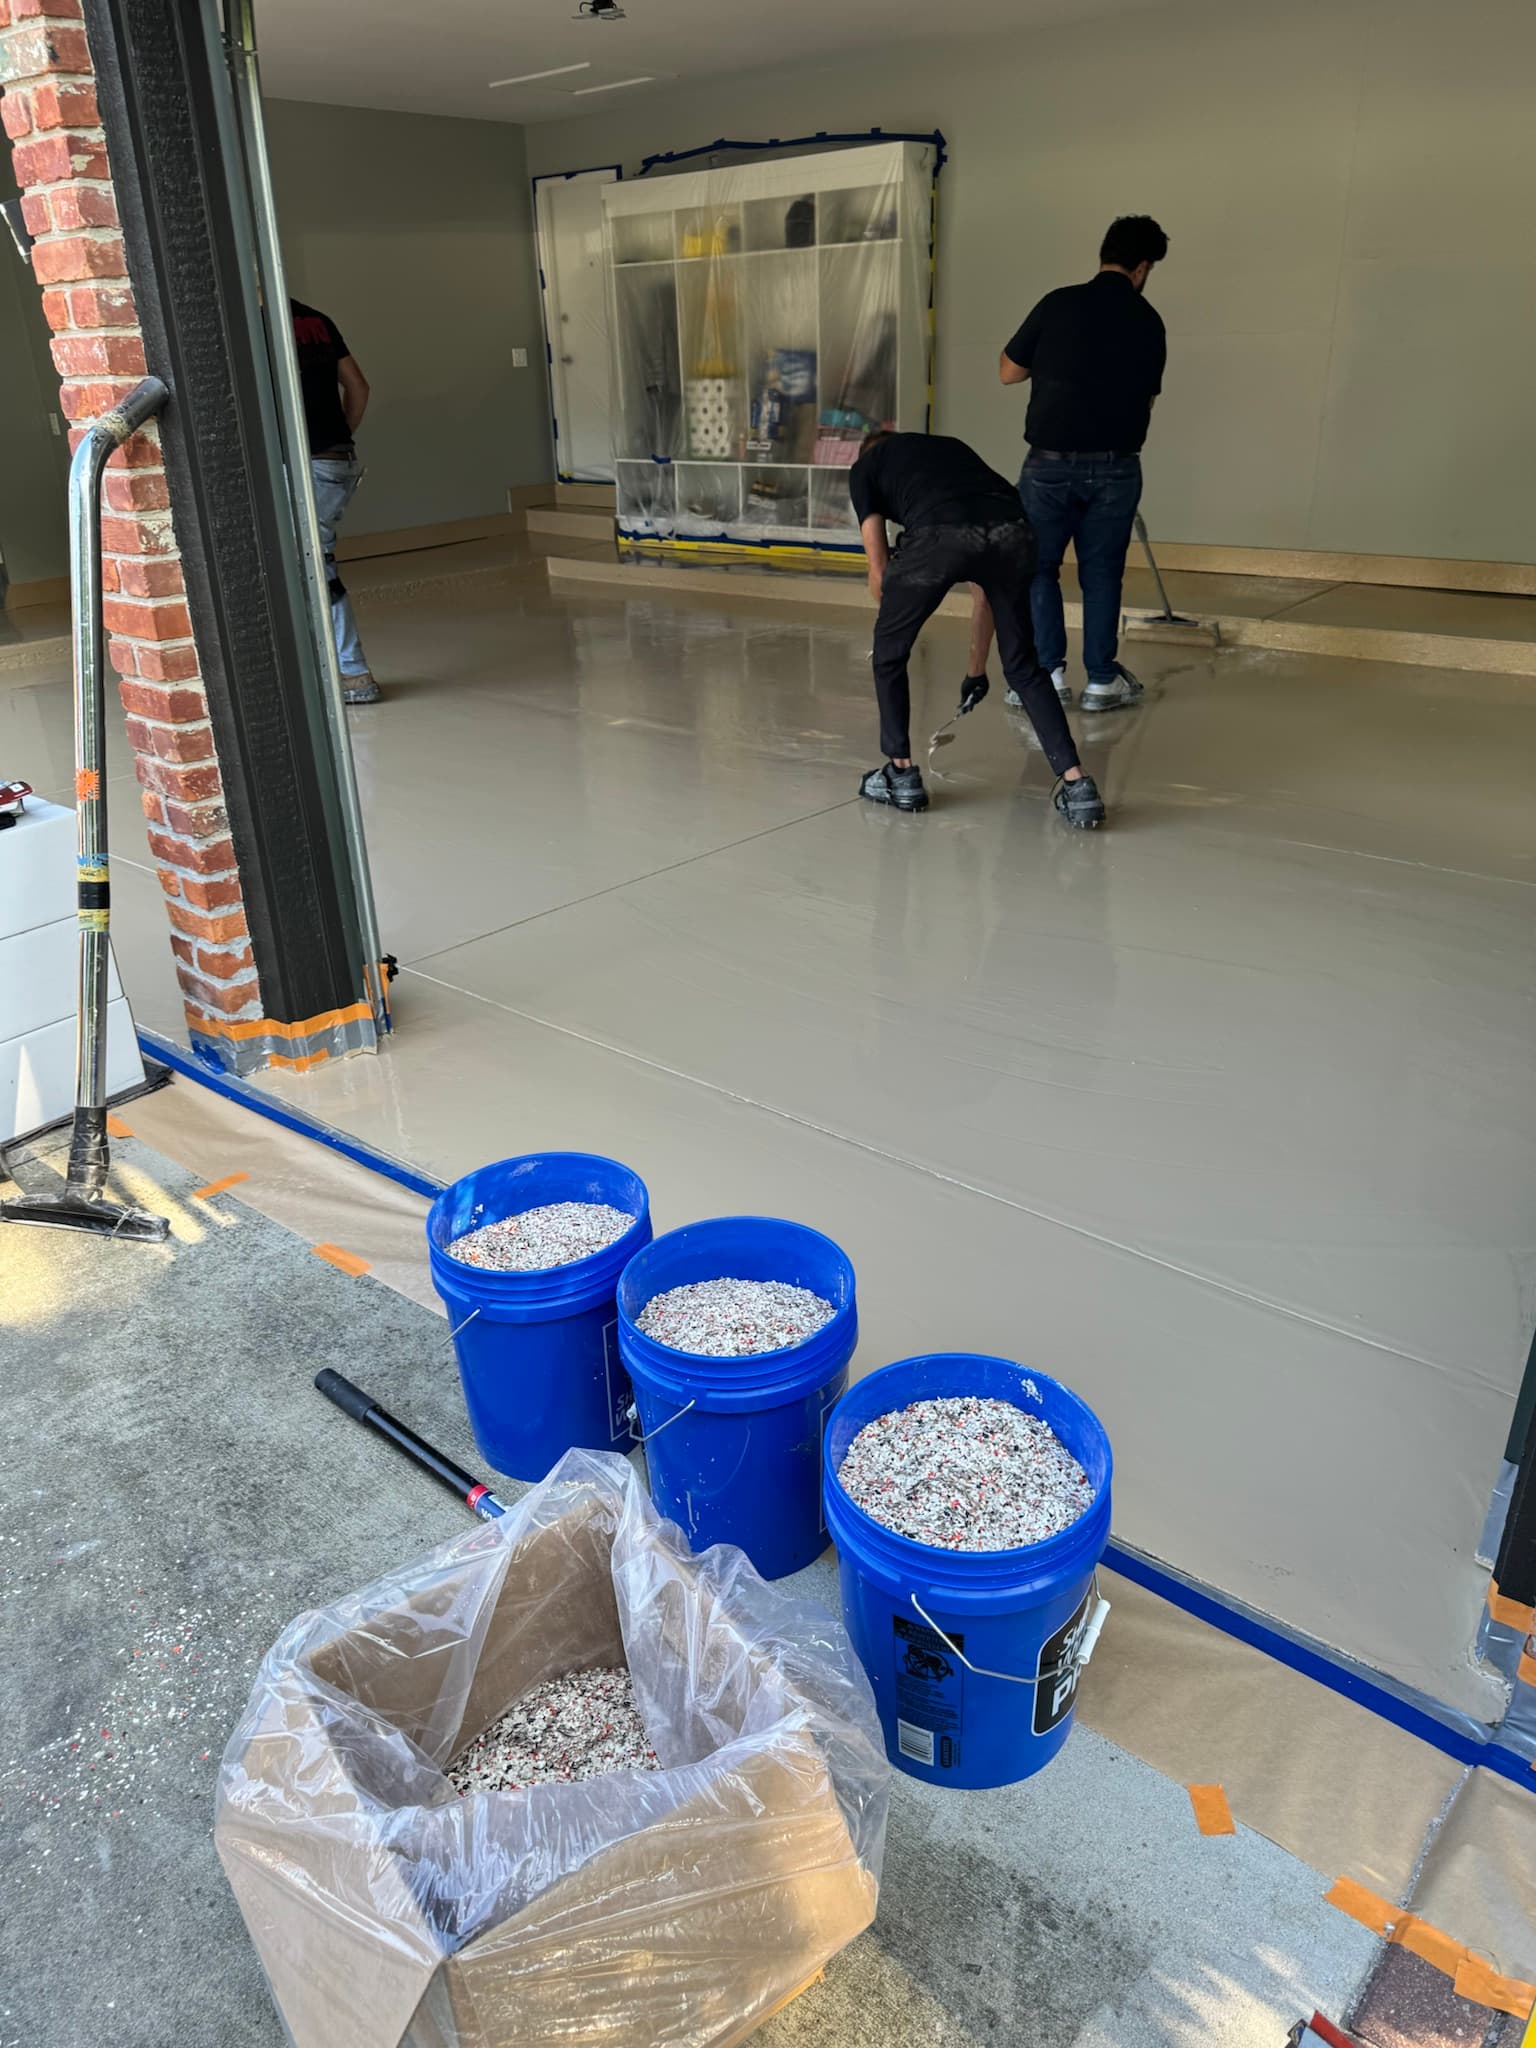
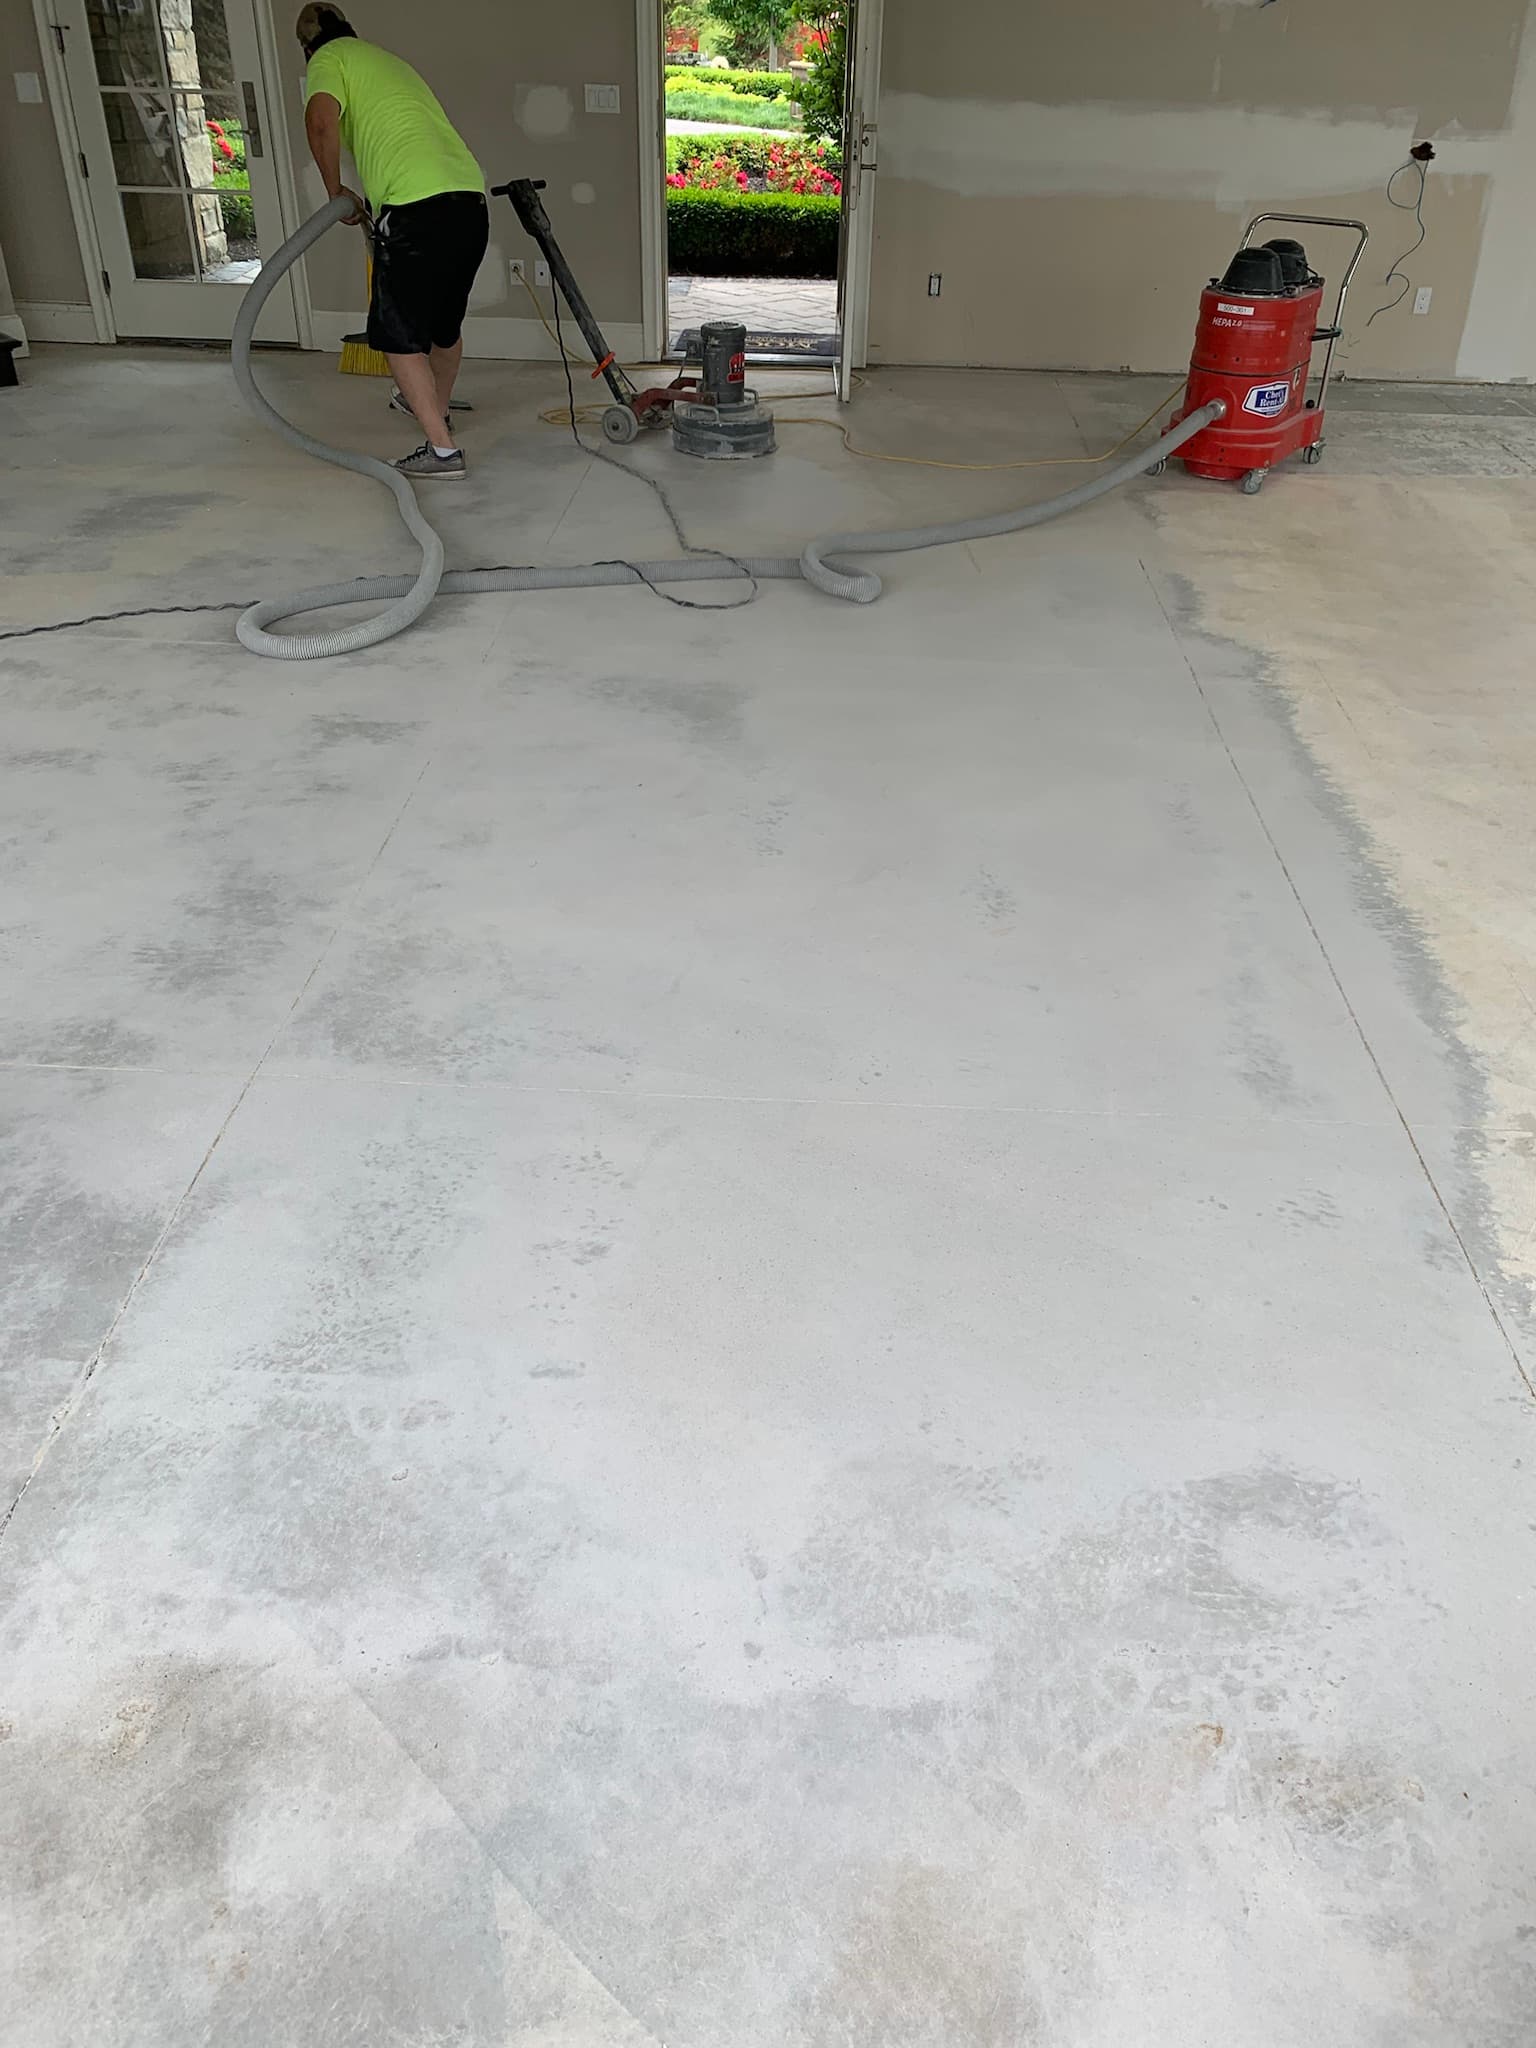
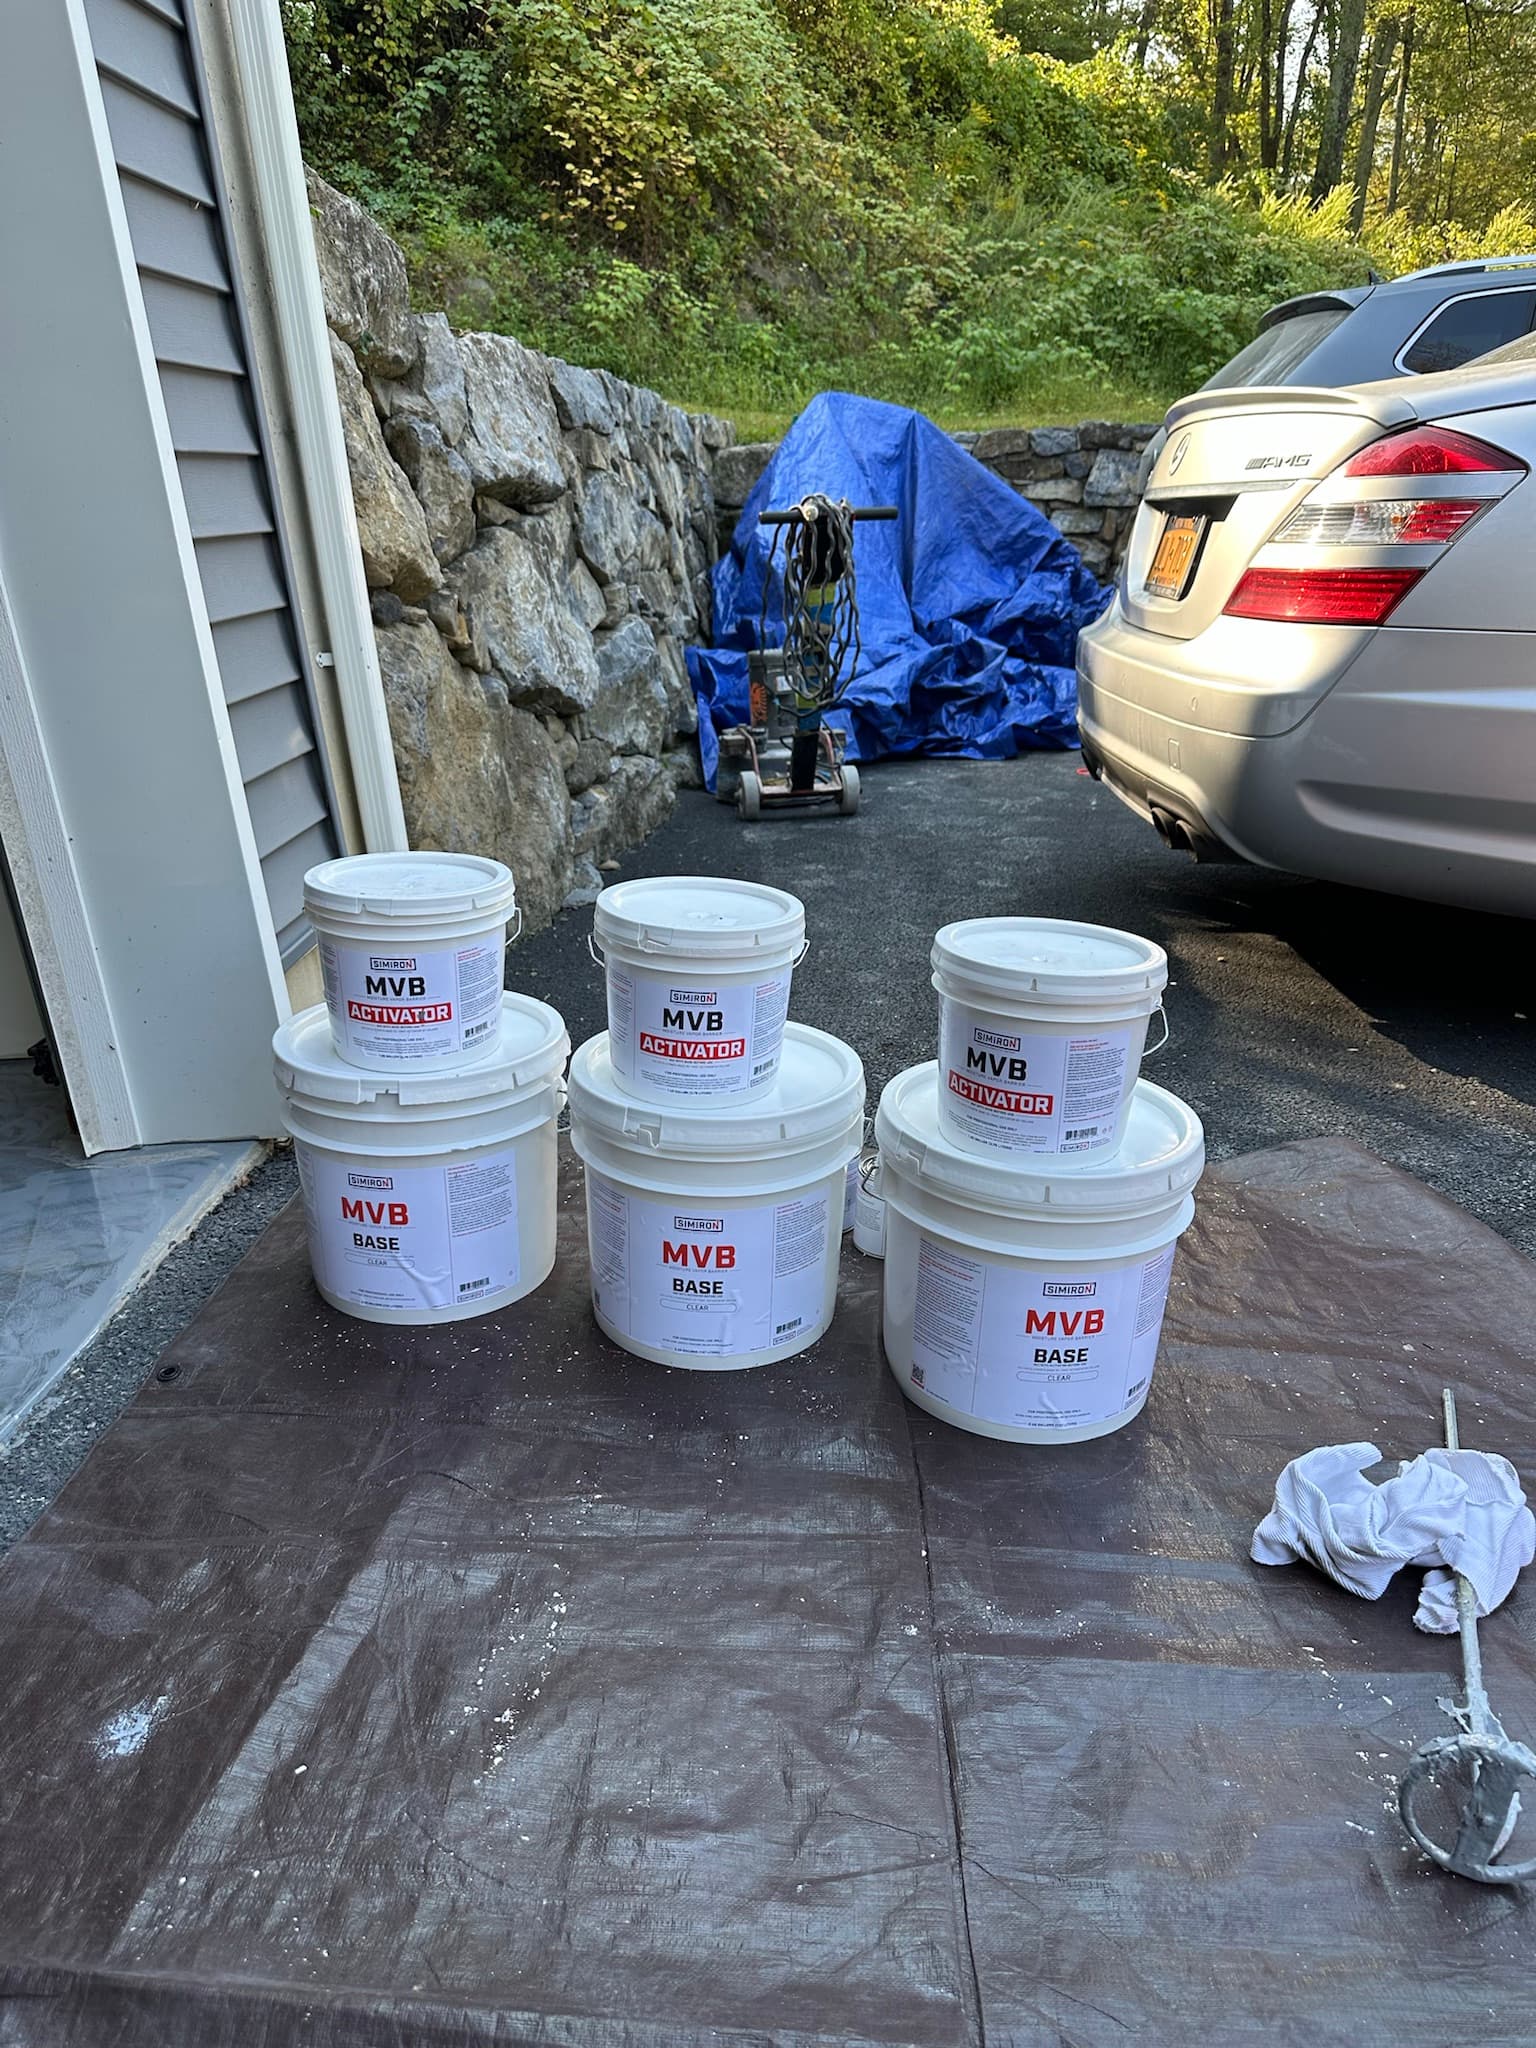
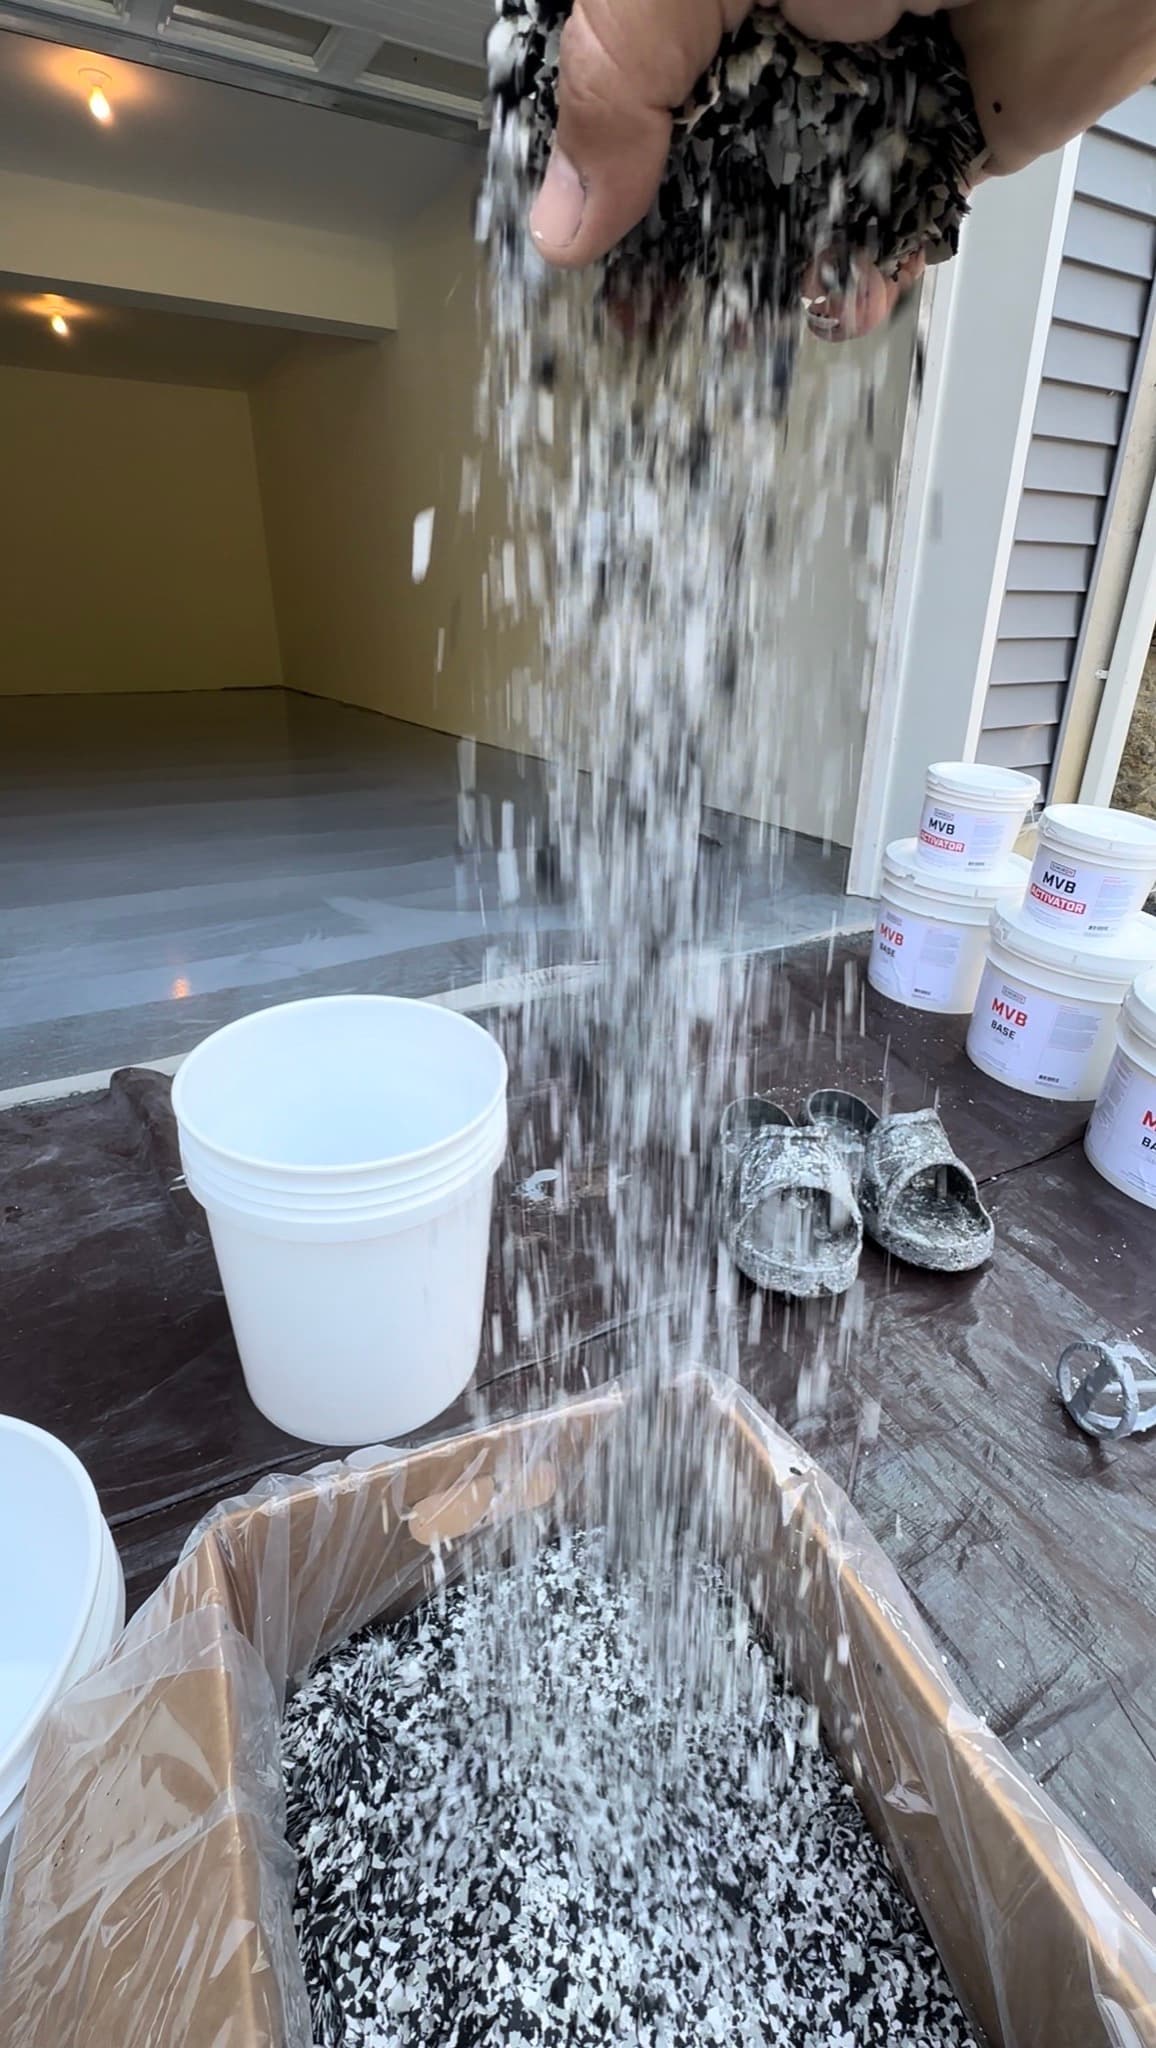
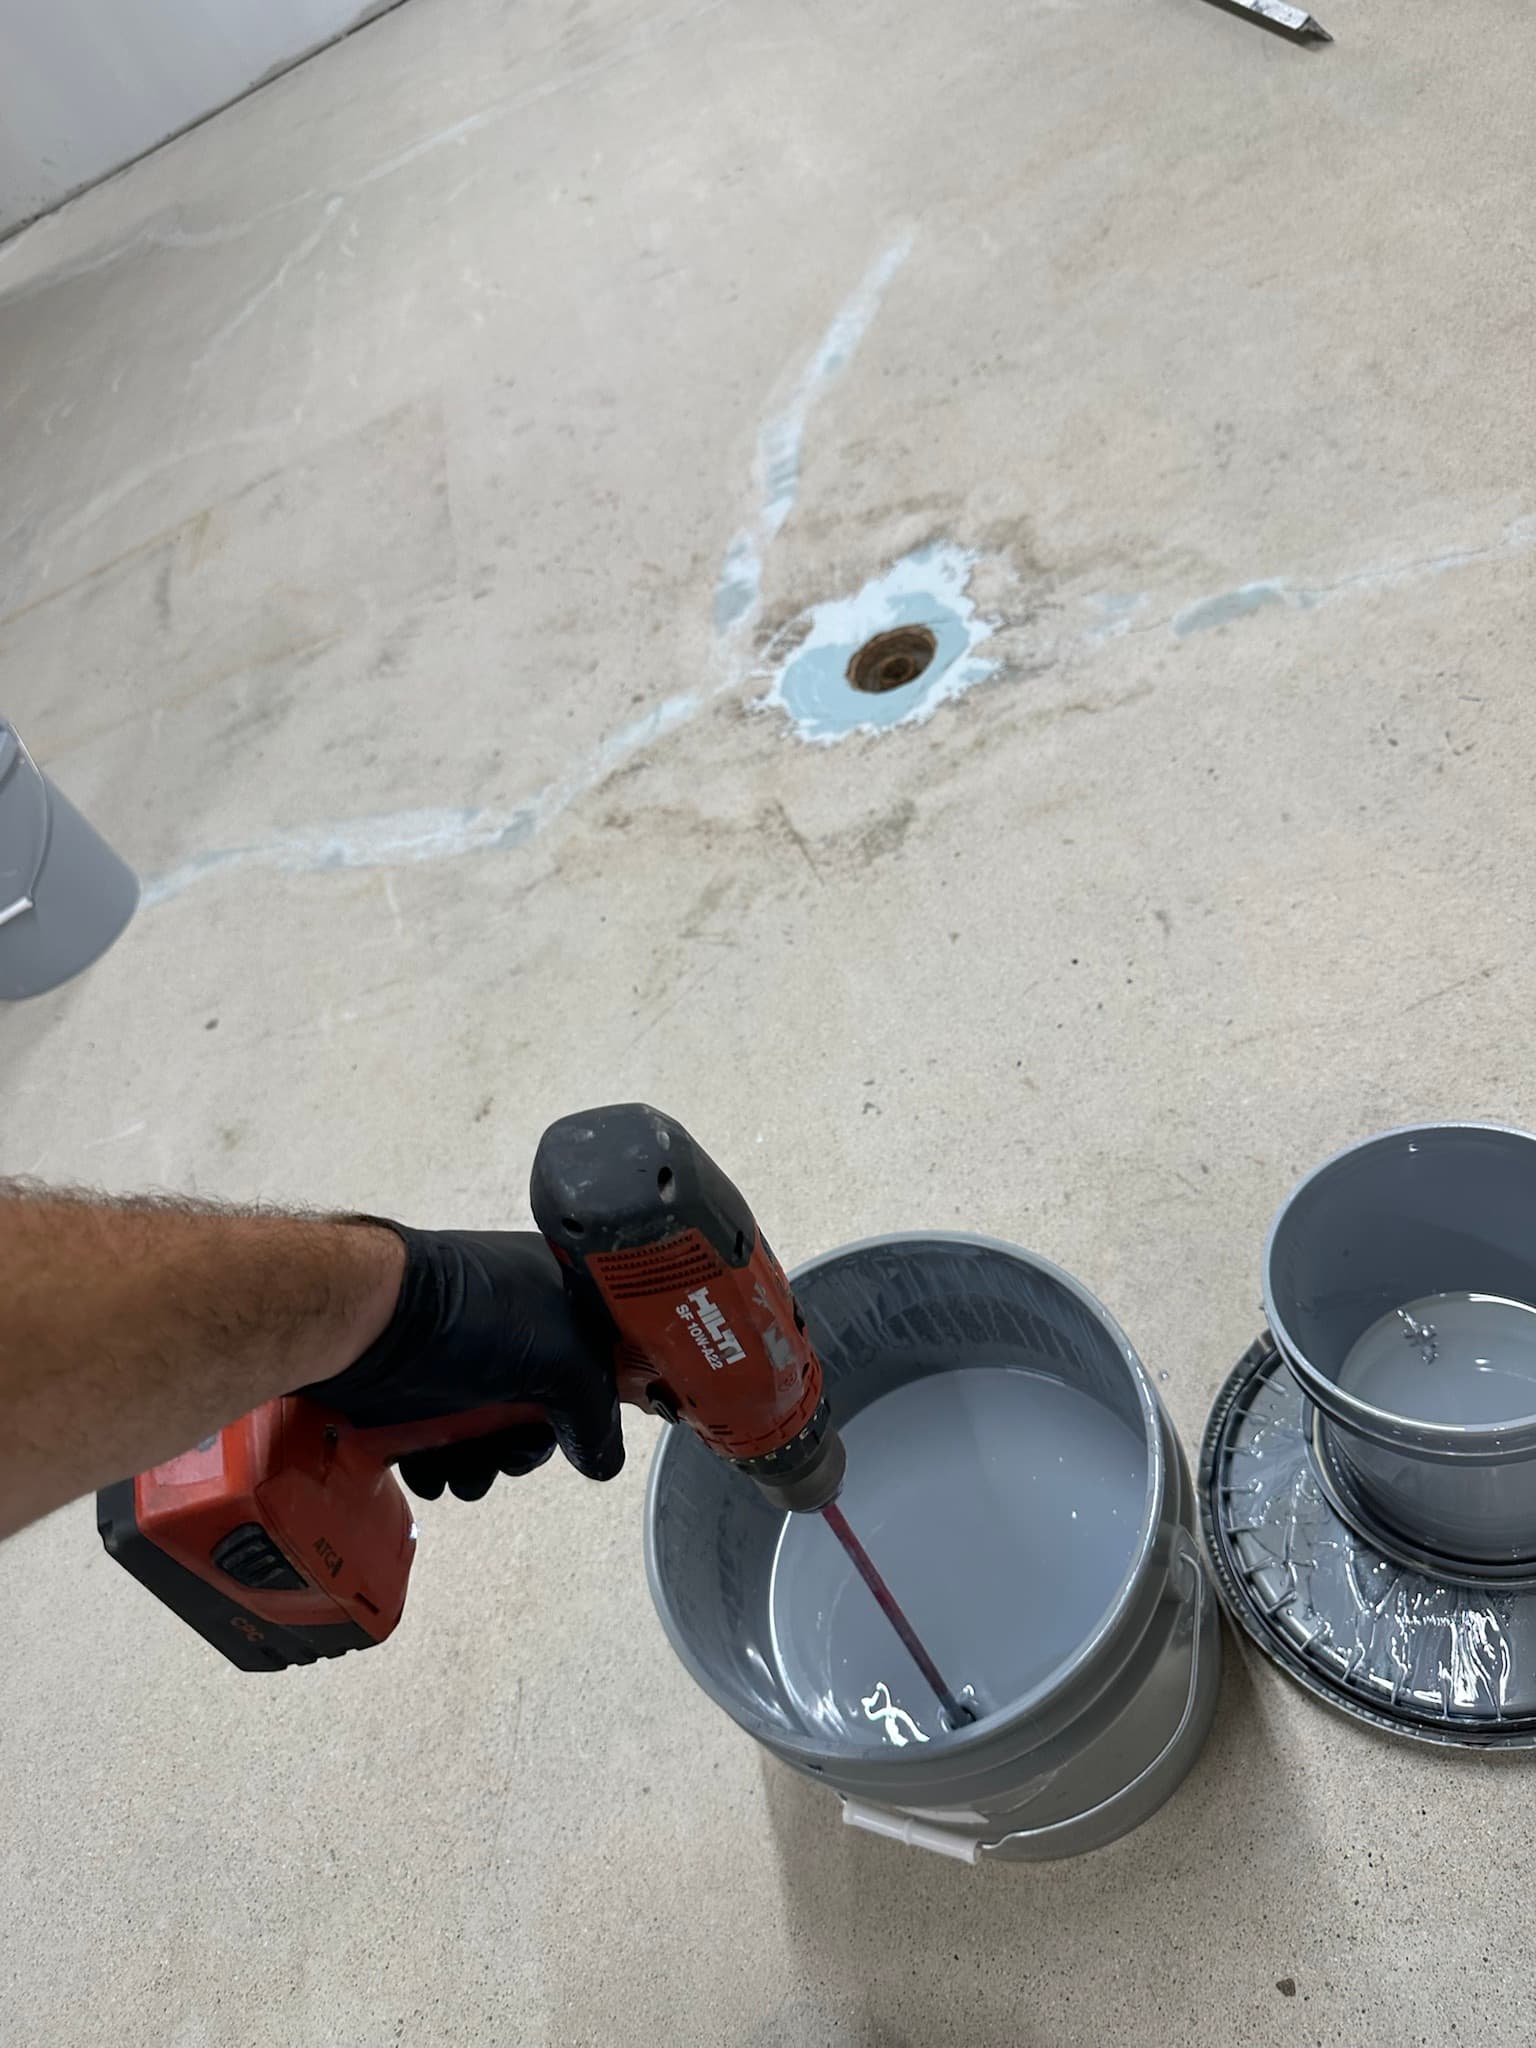
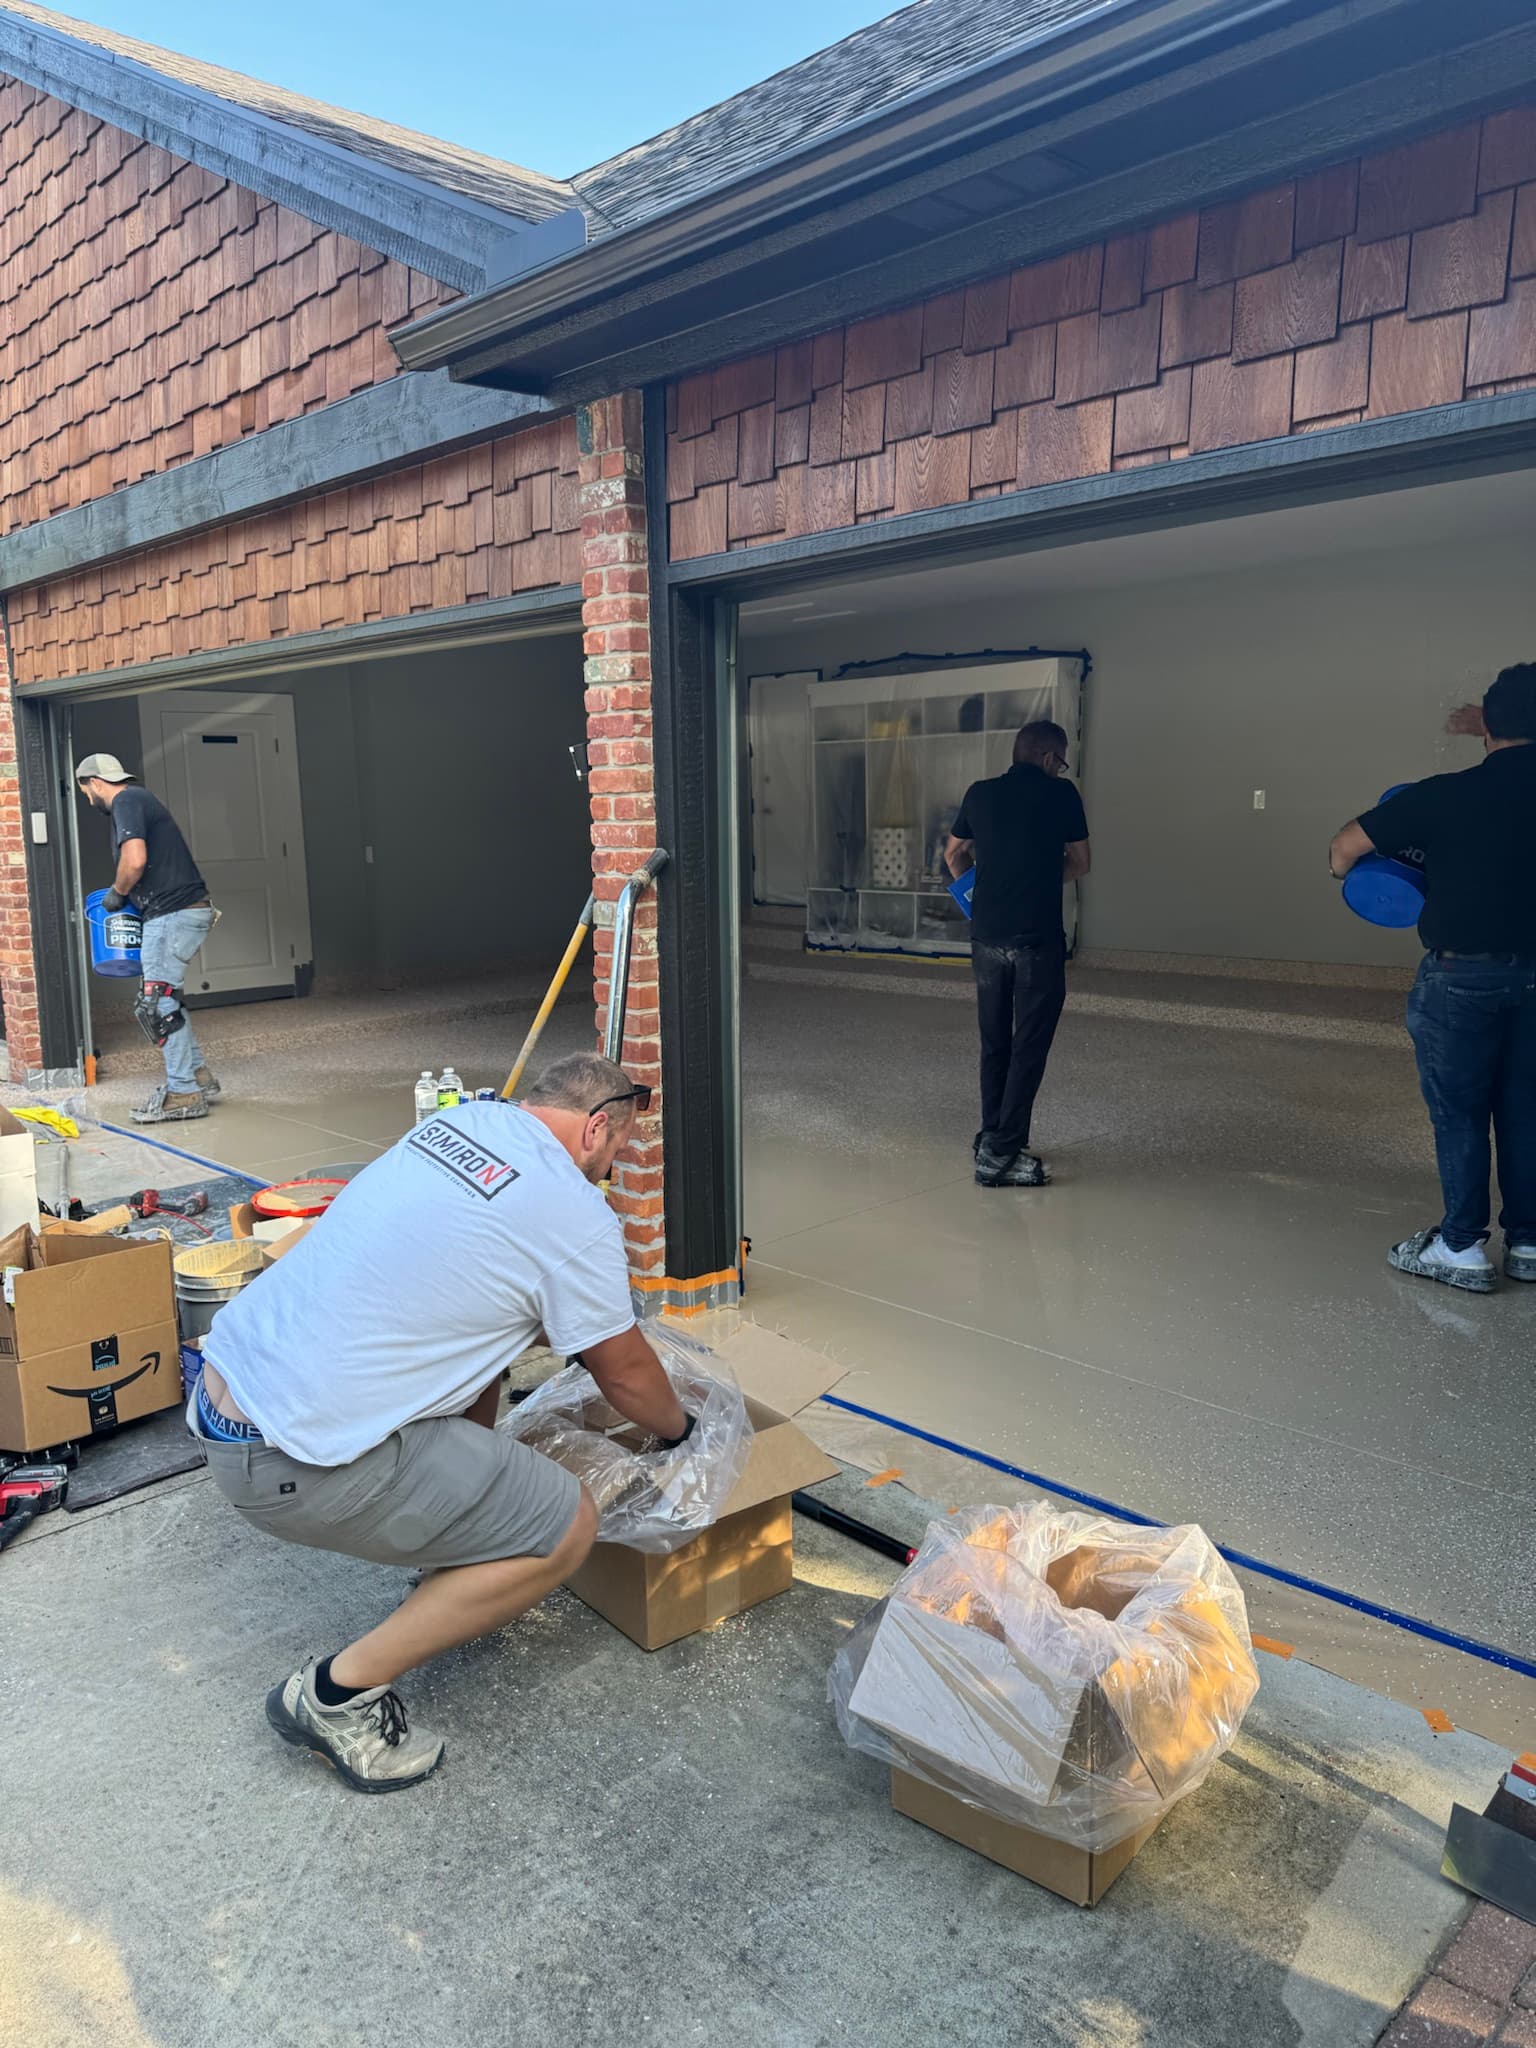
Every photo below is from Reserve Coatings field work — prep, application, and finished floors across Metro Detroit garages, basements, and commercial spaces.
End-to-end
From walk-through to final cure.
Three phases. One accountable crew. No surprises on install day.
Substrate prep
Moisture testing, decontamination, grinding, and crack repair run in sequence — no stage is skipped for speed.
Coating application
Polyurea base, broadcast, and polyaspartic topcoat within manufacturer recoat windows.
Hand-off
Care instructions, warranty registration, and a walk-through of your finished surface.
Six stages
What happens on your slab — in order.
Each stage is documented, timed, and executed by the same in-house crew that scoped your job.
0130–45 min
Moisture vapor testing
We measure the slab before we commit a coating system to it.
Concrete holds more water than most homeowners expect. We test moisture vapor emission (MVER) and, when required, in-situ relative humidity per industry standards. Elevated readings stop the clock until remediation is designed — we do not encapsulate a wet slab and call it fixed.
What we execute
- Calcium chloride or in-situ RH testing on representative slab areas
- Documented readings compared to coating manufacturer limits
- Remediation plan when readings fail
- Re-test after remediation before basecoat
Why it matters
Coating failure from vapor pressure is among the most expensive garage floor callbacks. Testing is non-negotiable on every Reserve job.
021–3 hours
Oil & petroleum decontamination
Chemistry-specific profiling — not a generic degrease.
Hydrocarbons penetrate concrete beyond what you can see. We map saturated zones, extract contamination with compatible solvents and media, and profile the surface so primer achieves bond — especially on vehicle paths and lift areas.
What we execute
- Mapping of oil-stained zones
- Solvent extraction and absorbent media where needed
- Profiling verification — no sealed patches left behind
- Isolated primer on stubborn areas when required
Why it matters
Epoxy over oil-contaminated concrete delaminates in ribbons. Targeted extraction costs less than a full re-coat later.
032–5 hours
Mechanical diamond grinding
We open the pore structure — no acid etch shortcuts.
Planetary grinders with progressive diamond tooling achieve a consistent CSP (concrete surface profile) for mechanical adhesion — uniform texture, weak paste removed, sound substrate exposed.
What we execute
- Progressive grit sequence for slab hardness
- Edge and detail grinding at walls and posts
- Vacuum-assisted dust control
- Final gloss and profile inspection
Why it matters
Acid etching is inconsistent and poor on hardened concrete. Mechanical profiling is what commercial specifiers require.
041–4 hours
Crack & joint treatment
Movement is managed — not hidden under the finish.
Control joints and cracks are routed, cleaned, and filled with flexible or semi-rigid epoxies matched to expected movement. Spalls are rebuilt so the plane reads flat under raking light.
What we execute
- Routing and cleaning of active cracks
- Flexible fill in control joints
- Feathered transitions before basecoat
- Cure verification
Why it matters
Decorative finishes amplify defects underneath. Proper joint work prevents telegraphed cracking.
053–5 hours
Polyurea base & broadcast
Primer, body, and your chosen aesthetic.
Moisture-tolerant polyurea primer penetrates the profiled slab, followed by the build coat. Flake is hand-broadcast to full rejection while wet, per your approved sample.
What we execute
- Polyurea primer at manufacturer spread rate
- Build coat within recoat window
- Hand broadcast per approved sample
- Holiday inspection before topcoat
Why it matters
Polyurea outperforms commodity epoxy on Michigan slabs under thermal cycling and road salt.
062–3 hrs · 24h foot traffic
Polyaspartic clear topcoat
UV-stable protection — light traffic the next morning.
Fast-curing polyaspartic clear at specified film build, with optional anti-slip additive. Return-to-service timelines are provided in writing at hand-off.
What we execute
- Polyaspartic clear at specified thickness
- Optional slip-resistant additive
- UV-stable formulation for daylight exposure
- Written cure and vehicle-load guidance
Why it matters
Polyaspartic resists hot-tire pickup, yellowing, and chemicals better than traditional epoxy clears.
The Reserve system
Three engineered layers. One disciplined install day.
01
BASECOAT
Polyurea primer penetrates and bonds — 4x the tensile strength of standard epoxy.
02
BROADCAST
Hand-broadcast vinyl flake — your palette, applied wet into the base.
03
TOPCOAT
Polyaspartic clear topcoat — UV-stable, antimicrobial, 100% chemical resistant.
Standards
How Reserve holds every crew accountable.
We never
- Subcontracting to unaffiliated crews
- Acid etch-only prep on garage slabs
- Coating over failed moisture readings
- Surprise price changes on install day
We always
- In-house Reserve installers on every job
- Written scope from walk-through notes
- Manufacturer-compliant spread rates
- Transferable lifetime warranty (residential)